Building Texturing Two
The Next few weeks would be spent creating and manipulating building textures, for a cottage and the front door. Overall the style of the buildings would give it quite a fantasy look.
The first task was to bake the High Poly down into Normal Maps and apply them to the Low Polys.
The Cottage - Even though this was the second task I am starting with it first
The Front Wall was one of the most visible sides of the cottage, so i wanted to create something that worked
The Ambient Occlusion
The AO was something that was really not worth spending time upon, After waiting for it to bake for a few seconds, the final result was minimal, So why was this? AO's rely up on complex geometry and lighting essentially to create the shading, and seeing as this geometry was simple this was the result
The Diffuse Texture
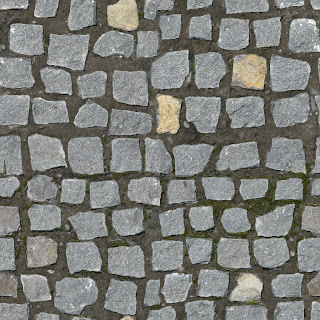
The diffuse texture was a result of multiple weeks of work, Originally i started with the main plaster texture, the noisy brown you can see in the background. From there i then started work on the stone in the base of the main wall texture, This was over layered on top of the plaster texture, which helped create the look of mortar and bricks. From here the next step was finding a suitable material for the window surround and next was the
Normal Map
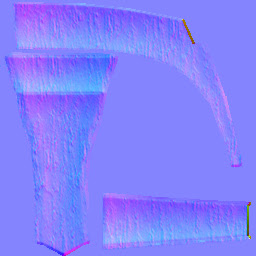
This normal map was created with the same technique, I did the first Normal Map from a High Poly Bake, and then I used a series of Texture Generated normal maps Over Layed on top of the High Poly Bake
Illuminocity Map
Side Wall UV's
Something I realized at the start of this unit, was that I could use multiple instances of the same texture.
Again i started with the plaster texture, The way I saw this it was the base texture for most of this model, Something else I also realized was the importance of image placement and where a material should sit for best effect in regards to position and layer number.
1 - The plaster was the first texture
3 - The glass texture was next - This was the original variant with no perspective and warp on the image, as you can see it is still square, From here i could then work on the light map, At this point i also did the window texture for the 'Window' Box. With a littlw amount of manipulation i was able to fit the window to the UV space.
4 - The wood support -Originally this was used all over (where the main stone is in between the textures)
5 - Stone - This was the next logical step as it needed to sit in front of the wood, and look decorative
6 - The next step was the stone in between the window, This was layered below the other stone texture so it looked like it sat further back than the other stone.
7 - The last large scale texture was the brick/stone texture to surround the window box, again i used the same texture as the stone base texture, and manipulated it so that it was less repetitive and then I used a sand texture for the mortar underneath, Which blende nicely with the blue/brown and grey stones of the main texture
8 - The final part of the texture to work with was the Keystone below the window box window. I Again wanted this to stand out over the rest of the texture which is why i left this until that.
Finally - Polishing and Clean Up, I had left allot of mess and excess material that i needed to go and erase so that. the final UV sheet was clean
Normal Map
Again the original normal map was created from supplied high poly geometry and then the detail baked onto the low poly, From here i the texture normal's in a similar way to the UV sheet, Textures i needed to be more defined where positioned correctly in the layer editor in Photoshop and using the normal map filter i created the texture normal's Again i used techniques that i had learnt to avoid getting to much noise from my photo textures, so i would not get a tacky look in Maya
Illumination/ Radiocity Map
The Roof Tiles
The roof tiles where separated into 6 sets of UV's for ease of texturing, Each a 256*256 texture, For the sake of representing them I have combined them in a Photoshop document. Each color represents a different 256*256 texture
Overall i was very pleased with the final result of the texture - Yes it looks like there is seams, these are not visible in the final Maya file.

Pillar Textures

Decorative Wood Above Door
Overall the wood texture for the piece above the door was just a mix of all the wood texture I used for the pillar. And spent some tile cleaning it up.
Final Renders
These are the two final renders of my Building Texture Two, As you can see i have changed the door texture to fit the style of my cottage. However I have left the normal's intact and up close you can still see them and it looks like age has worn the paint away.


